Showing posts with label Housing. Show all posts

Sunday, August 4, 2013

Guinygirlz' not-so-New Cage (DIY)

Slave is pretty sure we posted this before, but maybe slave is just affected by the heat here, cause
we can't find a post about our not so new cage on our blog... So here it is!
We have been enjoying this cage for quite some time now!

---

Our daddy slave has been quite busy lately with a big piece of wood, and many smaller pieces, nails, glue and corner profiles...

So a small preview of our new cage and how it is being made

This is the big piece of wood, it measures around 122 by 125 cms (around 48" by 49")

Dad was clever and used spare Ikea shelves
(slaves used glass shelves in part of their closet)

Here you can see the frame of Ikea shelves together,
which is going to support our new cage,
in the sides slaves can store boxes of pellets, hay and bedding

This is it on top of the smaller pieces of wood, and
maybe the shelve frame (we can't see for sure)

Here strips were glued in the openings,
to hold the pieces of plexiglass (hobby glass)

This is how the cage looks by now, all front strips are in place...

...Should be finished soon, right?
Slave has shared this video before, but maybe you wouldn't mind seeing our cute faces again?
Woopy enters first, followed by Lily, Daisy and Roos. Mind you it's a pretty long video...
And the finished cage, here we get to be in there for the first time:

Monday, November 21, 2011

Hay Solutions: Vertical hay rack

This time a special guest post from our fellow agents of the Cali Cavy Collective:

(see the original post here)

Hay is an essential staple of every guinea pig's diet, and should be available for your piggy to munch on freely at all times. One of the things an owner has to decide is how to give hay to their guinea pig. Whee here at the Cali Cavy Collective have experimented with many different methods of hay dispensing and would like to share our experiences with each method.

Revy munching hay from her vertical hay rack

A vertical hay rack is our humans most recent solution to dispensing hay. Ours is a simple DIY version made from bent C&C grids, coroplast and zip ties. It is secured onto the side of the cage with a large binder clip for easy removal.

Whee rather like using vertical hay racks. The one our humans made for us has a coroplast backing and bottom to catch small hay flecks and keep our fleece bedding cleaner. They came up with this idea after seeing the angled hay racks sold at pet stores which they disliked because bits of hay would fall in our piggy eyes. With a vertical hay rack, hay is shoved in through the top so this doesn't happen. Since it is reasonably good sized it can hold a lot of hay at once for your piggy to eat. We can choose to eat from the bottom, or put our paws on the sides of the rack and climb it to reach choice strands. An extra bonus is that this encourages more exercise. Best of all, it keeps us from going potty in the hay so there is no icky odor.

Of course, the vertical hay rack may not be ideally suited for all piggies - lazier guinea pigs might not be motivated to climb or eat from it, we assume this is also true for sickly pigs. It is possible that elderly pigs might not appreciate the extra effort involved to reach the hay. Also, some adventurous pigs could decide to knock down their hay rack - Belka loves to shove it aside and hide behind it, while Revy enjoys tipping it on its side!

So far, we have found that vertical hay racks are the solution that works best for us. Whether you decide this method is best for your piggy though is entirely up to you!

Filled with hay

Front of the vertical hay rack

Coroplast backing of the vertical hay rack

Filled with hay

Revy climbs to reach a tasty strand up top

...and yanks it out!

Piggies aren't supposed to go in the hay rack!


Vertical Hay Rack - Pros
- no odor
- encourages more exercise, can climb it
- vertical design so hay doesn't get in our eyes
- catches hay flecks, keeping the fleece bedding cleaner
- can hold a lot of hay at once

Vertical Hay Rack - Cons
- elderly, ill, or lazy piggies might not be motivated to eat from it
- adventurous pigs can knock it down

Saturday, October 8, 2011

Igor's PLAY - Houses

This wheek it is time for evaluating houses. Because there are so many different kinds of houses, I'll do this a bit differently. After an evaluation of houses in general, I will discuss the houses we have and award them with a rating expressed in golden guinea pig poos (1 bean for a really bad house, 10 beans for an absolutely awesome house).

What is it?
        Concept: Well what can I say… a house. A roof, walls and holes in it...
        Material: This can be practically anything. The houses I evaluated were made from wood, cardboard, plastic and grass. Auntie Guiny and her herd even have a little tent, which is made out of fabric.
        Application: This is very simple. Your slave places the house in your cage, you walk in and lo and behold!
        Do it yourself-factor?: This is pretty high, depending on the material you use. With a cardboard box even the little or the clumsy slaves can build you a cool house. Slaves that are a bit more skilful, can build a house out of wood. Do pay attention that you use materials that do not splinter and do not contain any harmful substances. Us guinea pigs like a house that can be ehm...altered.

Target audience?

Great for the relax cavy. Go inside and plant your furry behind in front of the entrance and you can lounge in complete privacy (also a good tip for the foodfocused guinea pig) If the house happens to have a flat roof, it is also very entertaining for the climber cavy. Climb on top and enjoy the view while wheeking your slave out of bed (or the couch..) Stressed cavies also appreciate a nice and safe house. It will offer a safe place in your cage from out of which you can observe the surroundings and build up confidence to go exploring later.

Dangerous?:

This depends on the house. Tell your slave not to buy or make a house that, when being gnawed on (and you know we cannot resist), are harmful to us. Also remove pointy ends sticking out. Your slave always needs to consider your safety when she buys you toys, because some piggy toy designers are just not the shiniest poos in the pigloo. Your slave should also pay attention to the holes in the house, they ought to be big enough. Most of us aspire to become a LAPS Pig one day, and getting stuck in the door opening or window is not very convenient. With cardboard this is not really an issue. Here, I actually prefer it when my slave makes the holes slightly too small because then I like it to decide (and alter) what the size of the window should be. Your slave should also remove tape and staples, especially around the edges.

Golden Poos?

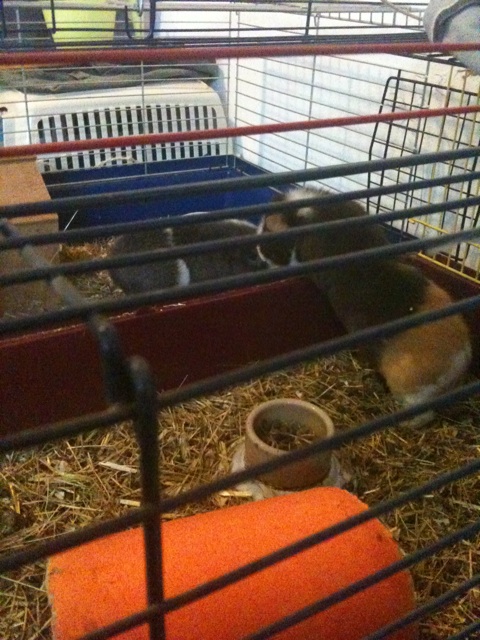
        House 1: (Suus:) House number 1 is a bit small, but secretly aunt Guiny and auntie Lotje like it to be stuffed in the house together. (We call this position the Double PigMac... *snigger*). Jan the boar loved to sit on the roof of this house, he said it made him feel like he was the king of the cage.
Score: (Igor:) 7 Golden guinea pig poos
        House 2: (Yaya:) House number 2 is comfurrtably big, which is absolutly great when you are lying in it. The only downside is that when you are not allowed inside, there is so little cage space left. The roof also offers no climbing uses, but the window deserves points in favour. It is really nice to rest your little head when you are studying for your master's degree in piggin out (yes, very hard work indeed).
Score: (Igor:) 7,5 Golden guinea pig poos
        Houses 3, 4 and 8: (Suus:) These are made by Granny's boyfriend. He added a little bit of extra lovin' to these houses, which makes them extra special. They are all very tasty and have two exits. This comes in very handy when auntie Guiny snaps at you because she wants to lie in the house. With an extra door, there is always a way out...
Score: (Igor:) 7 Golden guinea pig poos
        House 5: (Igor:) This house looks really nice but looking back, this wasn't such a good design. Colored cardboard can be hard on the stomach. The size was nice though.
Score: (Igor:) 5 Golden guinea pig poos
        House 6: (Suus:) Wheeeeek, this was an excellent house! It had a big door (I'm a LAPS girl after all) and I could easily climb on the roof and spy on my slave. It had very edible, yummy cardboard.
Score: (Igor:) 8 Golden guinea pig poos
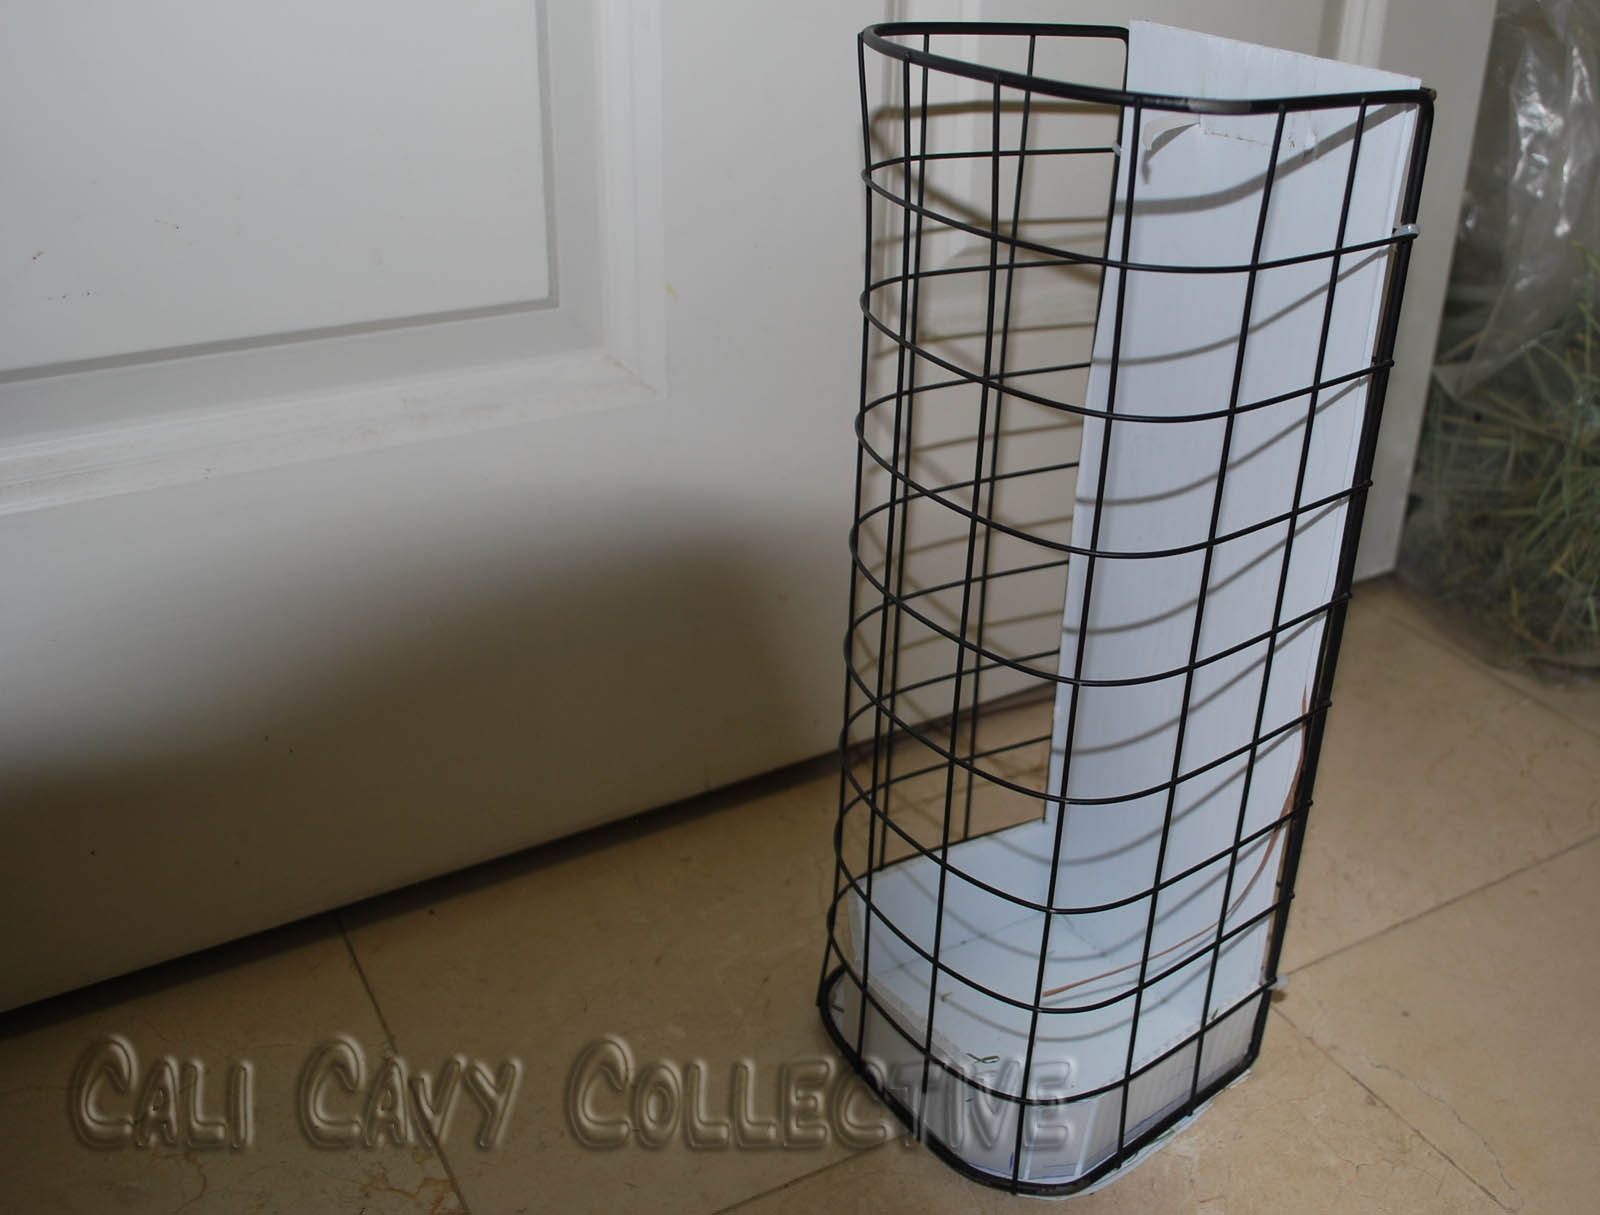
        House 7: (Yaya:) On the pigture you can see Granny's handsome boar Robbie peeking out of a pigloo. This is not an actual house, but us guinea pigs don't really understand the difference between a house and a toilet. (Just take a look inside our cage *evil grin*). Aunt Guiny refers to this house as The Blue Carriage. After an evening of running around in the living room, our slave had to very kindly beg our Lady Guinyvere (as she likes to call herself..) to proceed into The Blue Carriage. After which she was comfortably transported towards the cage (whereas us plain guinea pigs just had to climb into the cage ourselves). This is an advantage of the Pigloo, because it has a bottom, which makes it perfect for carrying around a guinea pig (be careful to cover the opening though. We are not really built for extreme sports liked base jumping.) I myself think the house is very tasty, but my slave won't allow me to eat it and has removed it from our cage. I guess she is right.. it was a bit hard on my belly.
Score: (Igor:) 5,5 Golden guinea pig poos
        House 9: (Guiny:) This tent is nice and big, it easily fits two of us, and we can even squeeze Woopy in there with us as a third. The bottom of the tent is very comfy, it's made of some kind of wooly stuff that is nice and soft. It can also be taken out (it's attached to the tentbottom with velcro, so your slave can easily take it out and wash it), which is very convenient for the slaves to clean it. The only problem with this tent is that it's made of fabric, which we can chew. I know who made the holes in our tent (right, Igor? *chatter*)..
Score: (Igor:) 6 Golden guinea pig poos
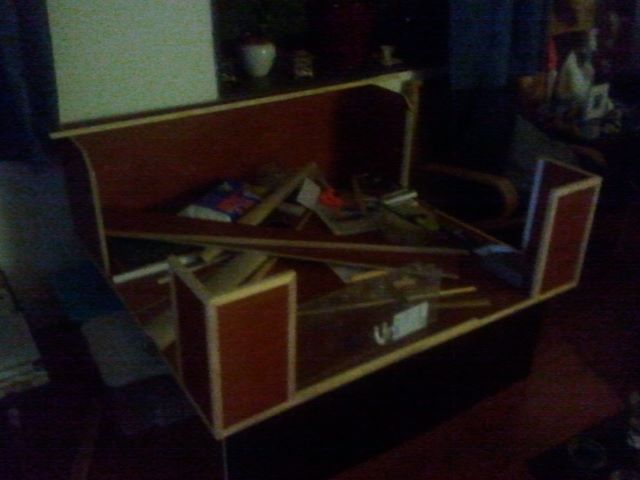
        Bahama shack: (Igor:) Yummy, greawft!... Vwery tastyf. Thoshe dfoorsf ougfwt to be a little biw biggerwsf...*chewchew*...*swallow*.
Score: (Igor:) 8 Golden guinea pig poos

Cheers!
Professor Igor

Friday, September 30, 2011

Home Improvement

Today I'm gonna show you how to build your own wooden house (we had to throw away the previous one because something white and fluffy was growing inside)

The wooden panels
Hurray! First wall is up!
The door goes over here..
Checking the inside before the roof goes up
Tadaaaa!!
When you're finished you an use this house for shelter or as a lookout.

Wkz!
Agent Chanel

Thursday, August 25, 2011

The Story of Chico and his house.. err.. girls


Once upon a time, there was a boar named Chico. 
Chico lived with 3 beautiful sows, but he wasn't a very active boar.
Thats why the housekeeper made sure everything he needed, like hay, pellets and water was available in his part of the cage.
One morning Chico woke up and found that the girls moved to the other part of the cage, a part he couldn't reach...


Ow my poor house.. err.. girls.. are you okay? wheeked Chico.

So our poor hero toiled and twaddled around the cage. And then a thought occured to him.. 

He took a deep breath, closed his eyes and jumped!!!

Aaaaahh my lovely house ..  girls. Finally we are reunited again.

And needless to say, Chico and his girls lived happily ever after. Chico took a nap & the girls jumped to the other side because it was kinda crowded.

(Chico) Yeeeeehaaah!! ... POPCORN.. *runrun*.. purrrrrrr .. POPCORN .. *jumps fence between cages* .. Woooohoooooh!!
(Woopy, Lily and Daisy) Don't look at us, we don't know what has gotten into Chico either.

(Story written and photo's taken by my sister Janneke, whilst we were on holiday, and my pigs got pampered by my sister..)

Thursday, April 14, 2011

The Surrey Squeakers Summer Crib


Oooh the Squeakers would love to see their new pen on the blog!

The whole pen has a sturdy wooden frame of treated wood, and the wire is strong 1" x 1/2" mesh, except for the roof which is 1/2" x 1/2" mesh. The company who made it kindly sent us some offcuts of mesh (at a very small price) to go all the way round the bottom edge to stop rats burrowing in. The pen is 6 feet tall, 9 feet deep and 12 feet wide and is big enough to take both the big hutches, one large shelter (for eating grass deliveries when it's raining), and 10 pigloo type houses. The Squeakers love it!

We love the Squeakers new pen although Mummy says we havent got room in our garden for one humphhhh

Thursday, February 10, 2011

Guinygirlz DIY cage: Hobbyglass cage

Building a Hobby glass cage, owned by Agents Lily'explorer, Lil'woop, Agent Wheeker and Agent Valentino
Needed:
- 5 hobby glass sheets (for example: 2 50x50cm sheets for the sides, 3 150x150cm sheets for back, bottom and front. In the Netherlands Hobby glass is also know as plexi glass, it is not real glass, but hard plastic.
- 2 sizes (small and bigger) of corner strips (we used plastic)
- hard plastic glue

The following pictures show you what is in our cages. from bottom to top.
By the way we also have a top floor that is not really in the pictures, we'll ask slaves to write a post about that as well. The stairs in the pictures is used for getting to the top floor.
Our cage empty

A corner, picture taken so you can see the construction of smaller and bigger strips

Papers to soak up the fluids

Covered with drybed (shrank a bit in the washing machine)

Our improvisation brick staircase

the corner House

Willow 'twig' tunnel

Hanging Ikea 'hay' rack

Our Wooden hayrack

Our webcam (yes it's upside down ;)

Our netbook used for broadcasting us!

How to make:

- First: saw the corner strips to the right lengths. The biggest corner strips go on the outside of the cage. The smaller corner strips go on the inside of the cage. (see the picture on how we sawn our strips for the corners).

- Second :decide where to put which glass panel. Set them up in a way they are supported.

- third: start glueing the strips to the panels, first do the outsides, measure the space for the front panel, a small piece of glass panel will work for that, or use a smaller side panel. DO NOT leave the front panel in while waiting for the glue to dry when you want to be able to get the front panel out! Let the strips dry.

- fourth: glue the smaller strips on the inside of the cage. Again measure the space needed for the front panel and get the panel out before the glue dries!

- Fifth: After all the glue has completely dried, this does take quite a long time, look in the desciption of the glue how long it needs. You can put the panel in, and put the cage in place.


Some points of attention:

When glueing make sure you put something beneath the glued pieces, so you do not get glue on your floor, table or whatever you have the cage on while assembling.

This cage is fairly stable, but not good to keep it in the middle of a room. A wall or two for support are very welcome. Our cage is in a corner with the back and one side supported!


Hope this was helpful, if you have any questions let us know!

Our cage was made by mom and dad.

They want to make a step by step photo instruction for the next bigger cage they are planning to make for us...


Wheekz,

Woopy, Lily, Daisy and Chico

Sunday, January 30, 2011

>

> Greetings my fellow secret Agents, Agent Lettuce here reporting on my crib. This is a smaller version of the pod I used to live in with my sister (R.I.P Agent Thumper). The most notable features are my beloved hut which I like to disguise with hay and my food bowls, 1 for dry food and 1 for wet food. Aunty Loosy puts lots of things in my pod, don't know why she bothers as I just ignore them. I get floortime every day and scamper about the bedroom, there are lots of things to explore and I like to gallop around as it annoys my Daddy.
> My pod is in Aunty Loosy's room, we have always lived in her room because we went to live with her when she was a student and our Uncle Ned was very nice but did tend to come home late at weekends and pick wah up. Boys are often silly, methinks.
> I also have a duvet (goose down from somewhere called Peter Jones) to cover my pod and keep me extra snug in winter!
>
> Agent Lettuce out
>
>

Tuesday, January 11, 2011

My Crib; Surrey Squeakers Winter Home


Stella would like to show you the Winter quarters of the Surrey Squeakers.

Here are two pictures of our shed. One shows the left hand side and the other shows the right. Slave wanted to stand further back and get it all in one photo, but there's a big tree in the way. It is an 8 foot by 6 foot wooden shed, with a window. You can see that there is some wire mesh in the doorway to stop us escaping when Slave opens the door. Hanging from the ceiling is our luxury heater. It has a fan which is on all the time, circulating the air nicely, and a heating element which comes on when necessary, to keep the shed at the chosen temperature. Slave usually chooses to set the thermostat at about 12 or 13 degrees, which we find very comfortable, and it's not too great a shock if we are suddenly brought out and placed in the outdoor pens! On the floor we have layers of newspaper, then a layer of towels, then lots of lovely hay. We also get extra hay in all our little houses and also in our new hay rack. (Thank you Secret Santas - Woopy, Chico, Lily and Daisy!). The shed is big enough for us to get up some speed when we are feeling energetic and we love being in it when it's cold, snowy or wet outside. As you can see in the pictures, breakfast veggies had just arrived, but Slave standing at the door with a camera was putting us off!

Friday, January 7, 2011

My crib: Where the Misfits live

We got an email from Jean, slave to the Misfits, this will be a photo report!
The cribs are mostly built by Andy, we hope to get a report later about how to build these misfits Cribs...
The nine  4 by 2 cages that Andy built.

Ned is in his condo cage

The middle section of the big condo cages that andy built is the top cage of adeline and amanda.

Lazarus lives in the bottom of the middle section of the big condo cages

Biff who lives next to Charles.

Charles in his cage.

A closer look at the middle section of the condo cages.

Notice that the middle cage has a red ribbon that Ringer won for the second biggest eyes at the Chicago piggie open house that He shows off on his water bottle! That is his cage!

This will give you an idea of their housing. They have soft fleece that is changed every two days. (yes a lot of laundry) they get oxbow food and lots of Timothy hay. Each has a hut and clean water daily :) and they get a vitamin c tablet daily, as well as a veg plate in morning and a snack at nite at 9pm!

Yes, they are spoiled. we have a kids plastic swimming pool for floor time as well. easy to clean out and they love it!